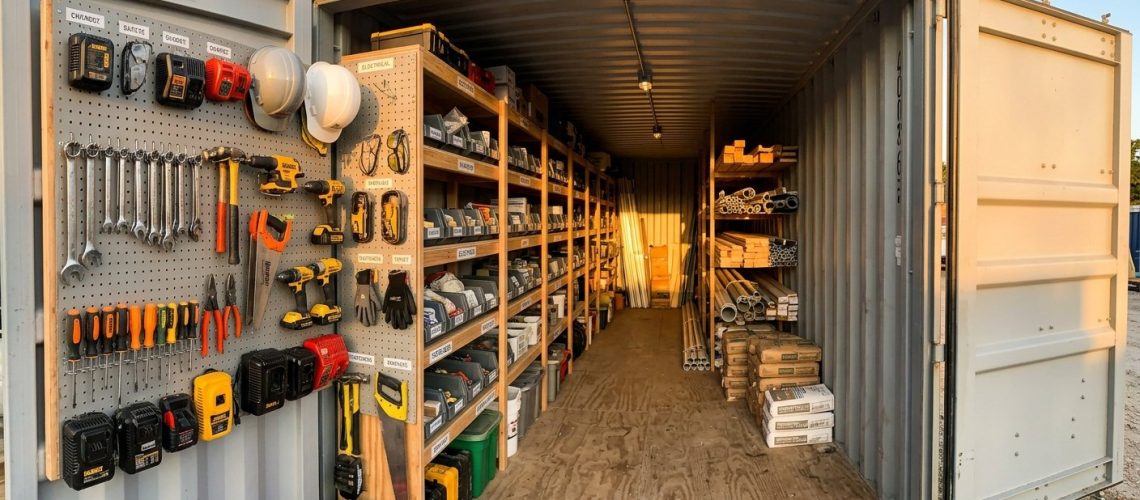
A well-organized job site storage container saves time, reduces material loss, and keeps your crew working efficiently. The core strategy is zone-based organization: group items by trade, frequency of use, and size — with daily-use tools near the door and bulk materials secured toward the back. This applies to any contractor, project manager, or renovation team running an active South Florida or Treasure Coast job site.
- Zone your container by use frequency — high-access items near the door, heavy materials in back.
- Use vertical storage, pegboards, and shelving to maximize floor space.
- Label everything clearly and maintain an inventory log to reduce theft and loss.
- Secure the container properly at day’s end — a quality lock and ground-level placement matter.
- Adapt your layout as the project progresses; reorganize at each project phase.
Why Container Organization Matters on Active Job Sites
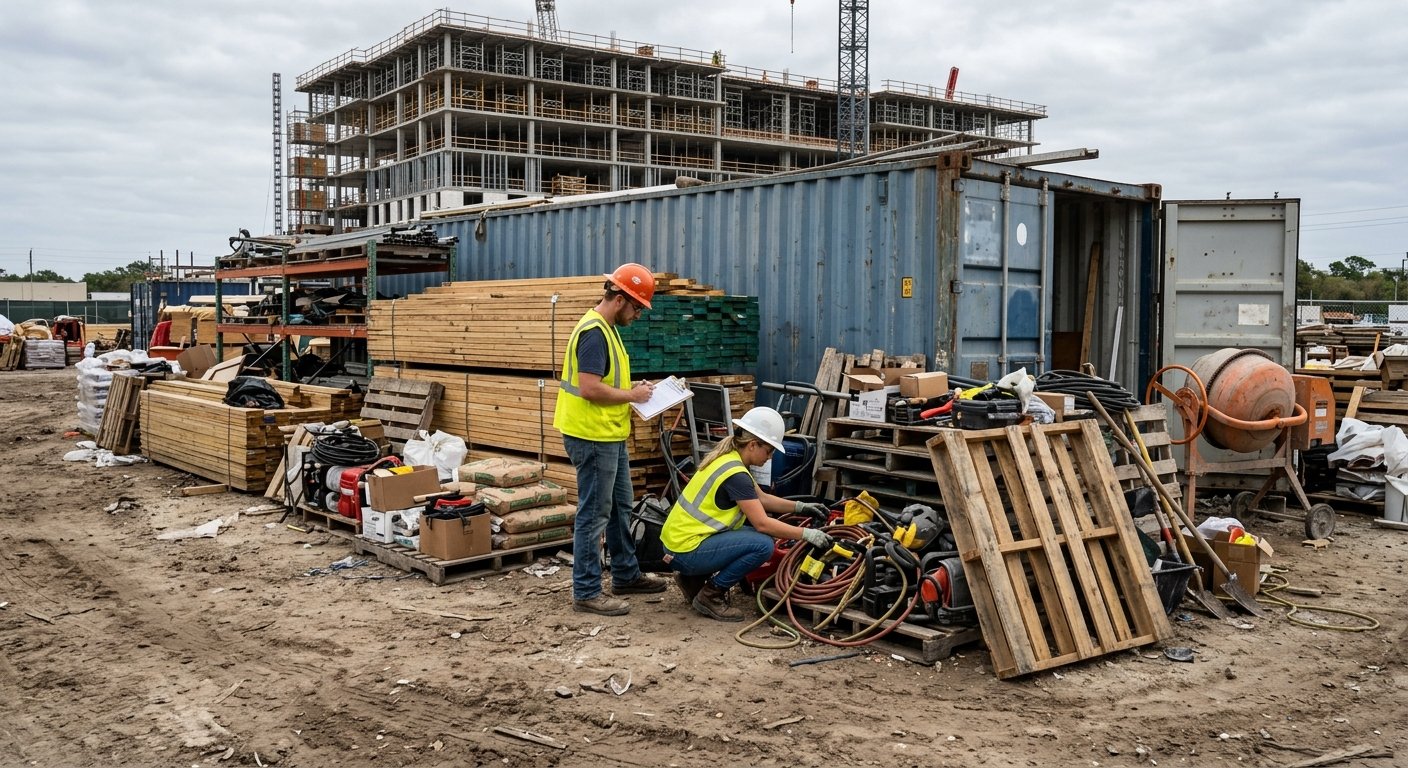
Disorganized job site storage costs more than just frustration. According to the Bureau of Labor Statistics Injuries, Illnesses, and Fatalities program, a significant share of construction workplace injuries involve material handling — many of which stem from cluttered, poorly arranged storage areas. When tools and materials aren’t where they’re supposed to be, workers improvise. That improvisation leads to delays, damaged equipment, and real safety risk.
On Florida job sites specifically, an additional layer of complexity exists. Heat, humidity, and the threat of seasonal storms mean your storage setup needs to account for more than convenience alone. A thoughtfully organized on-site storage container protects your investment in tools and materials while keeping the project timeline on track.
Before loading a single item into your container, sketch a quick layout on paper. Identify your “daily use” items, your “weekly use” materials, and your “phase-specific” supplies. This 10-minute exercise prevents weeks of reorganizing mid-project.
Step 1: Establish Clear Zones Before Loading
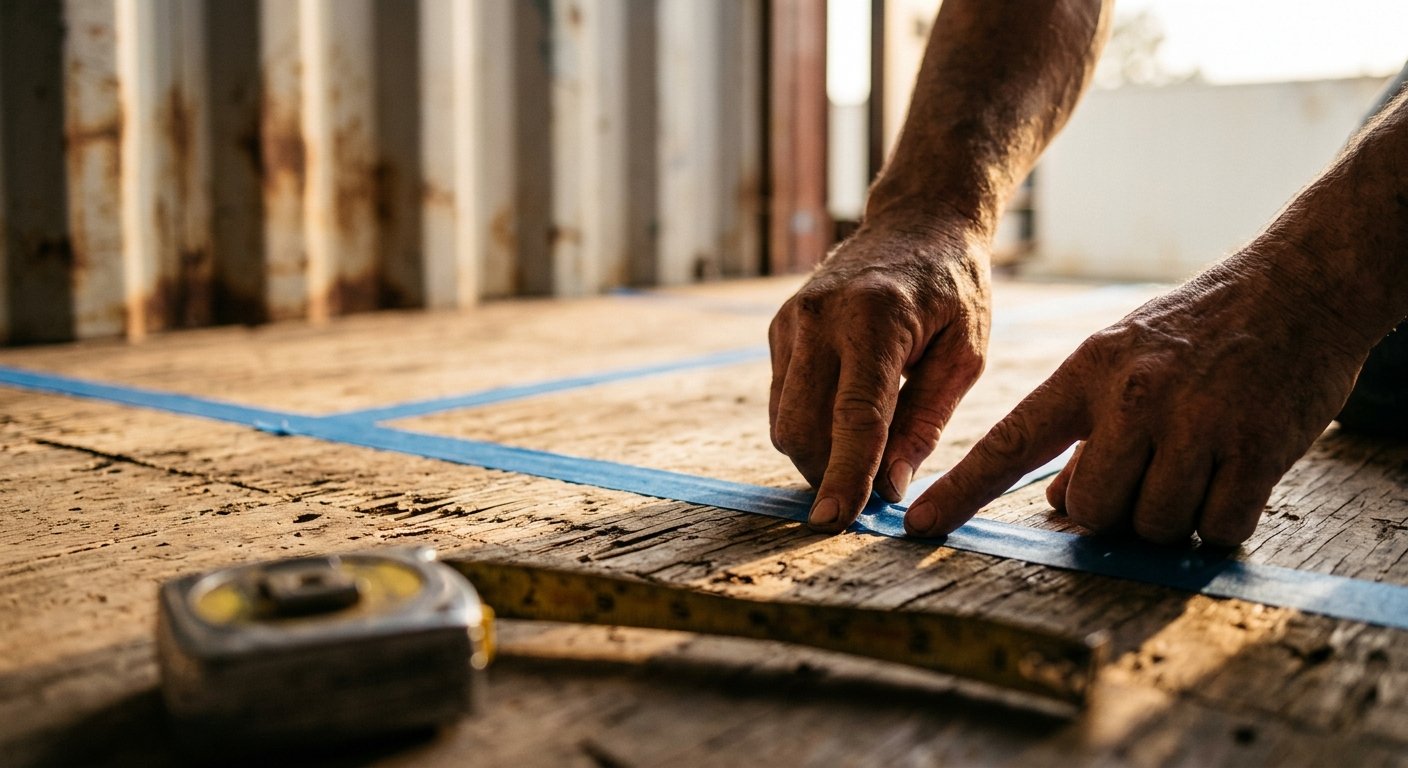
The single most effective thing you can do before placing anything in your container is divide it into functional zones. Think of it like a well-run warehouse — everything has a home, and that home is logical to anyone on the crew.
Zone 1 — High-frequency access (front third)
This is prime real estate. Store hand tools, power tools in daily use, safety equipment, and frequently accessed consumables like fasteners, tape, and blades here. Keep this zone shallow and uncluttered so workers can grab what they need without climbing over anything.
Zone 2 — Weekly-use materials (middle third)
Equipment used at specific project stages — tile cutters, mixing tools, framing gear — belongs here. These items shouldn’t block access to Zone 1 but need to be reachable without a full unload.
Zone 3 — Bulk and phase-specific supplies (back third)
Heavy materials, lumber, large fixtures, and items not needed until a later project phase go here. Stack carefully with heavier items on the floor and use dunnage or blocking to prevent shift.
Step 2: Use Vertical Space Strategically
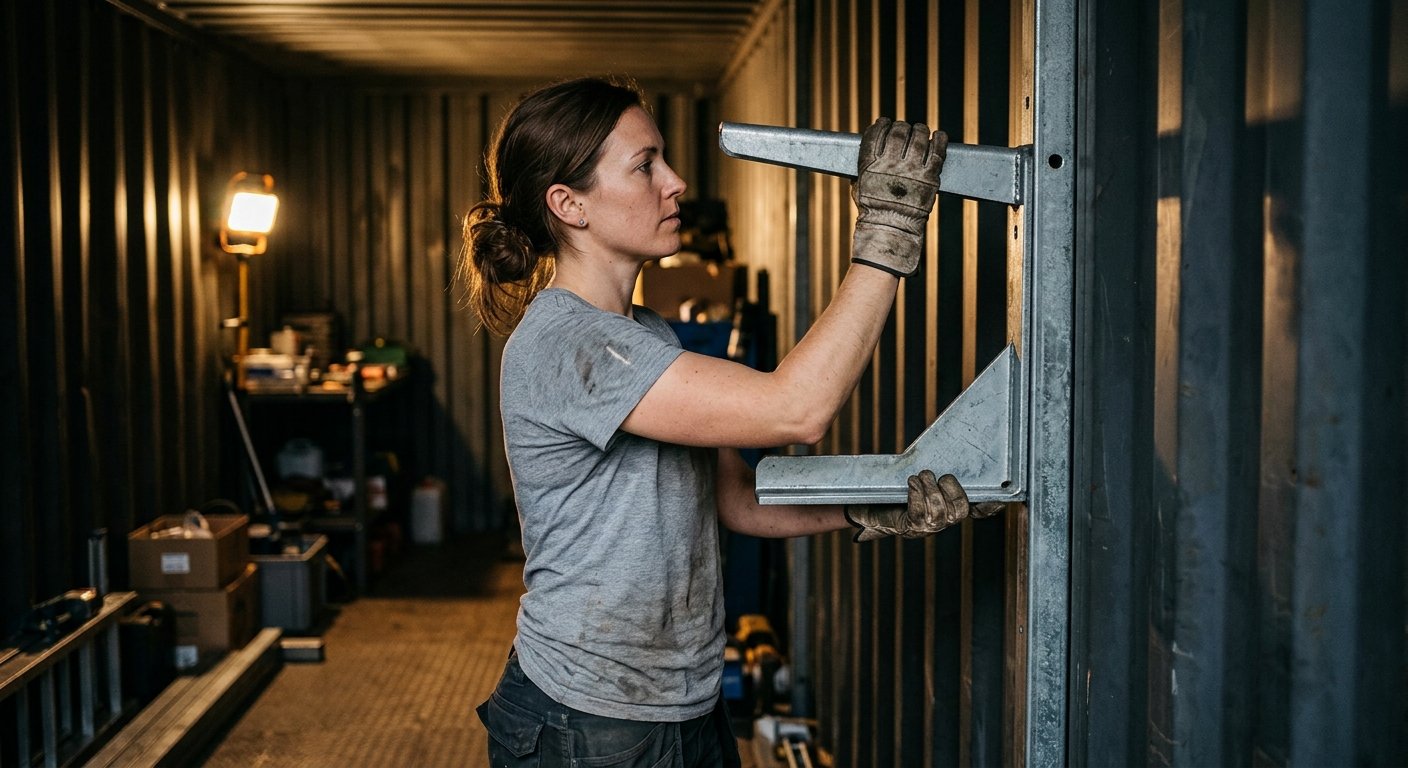
Floor space in a storage container is fixed, but vertical space is often wasted. Adding shelving units along the side walls transforms your container’s usable capacity. Freestanding metal shelving rated for the weight you’re storing is a reliable option — look for units designed for commercial or industrial use rather than lighter residential shelving that flexes under load.
Pegboards mounted to sidewalls are excellent for hand tools. A pegboard system keeps tools visible, reduces the time spent searching, and makes it immediately obvious when something hasn’t been returned. Label the pegboard outlines so your crew knows exactly where each tool belongs at the end of the workday.
In South Florida’s climate, moisture can accumulate inside storage containers, especially during summer months. Use silica gel desiccant packs near sensitive tools and electronics, and consider a battery-powered hygrometer to monitor internal humidity levels. The OSHA heat exposure guidelines also remind contractors that heat stress extends to enclosed storage environments — ventilate before workers enter the container during peak afternoon heat.
Step 3: Create and Maintain an Inventory System
Even the best physical layout breaks down without an accountability system. Tool and material theft is a real problem on construction sites — the National Insurance Crime Bureau consistently identifies construction equipment theft as one of the most underreported property crimes in the United States. A basic inventory log, whether a laminated paper sheet on the container door or a shared digital spreadsheet, creates accountability and helps you catch discrepancies before they become expensive losses.
At minimum, your inventory system should track:
- What’s in the container and its assigned zone
- Which crew member checked out a tool or piece of equipment
- The date any item left and returned
- A brief condition note for high-value tools
This doesn’t need to be complex — it needs to be consistent. Assign one person per crew to own the container log each week.
Step 4: Secure and Protect the Container Properly
Organization means nothing if your container isn’t secured at the end of each workday. A heavy-duty puck lock or a shrouded padlock rated for outdoor use is significantly harder to compromise than a standard lock. Use a hasp designed for container doors — the door hardware itself is often the weakest point, not the lock.
Ground-level accessibility — a feature built into Dash Mobile Storage’s portable units — makes both loading and securing containers easier and safer. When a container sits flush with the ground rather than elevated on a chassis, there’s no need for ramps that shift or steps that become hazards. That ground-level design also prevents the kind of awkward angled loads that result in dropped equipment or back injuries.
A well-organized container is only as effective as the security and access system backing it up.
For longer-duration projects, consider concrete or compacted gravel placement pads to keep the container level and stable. A unit that rocks or settles unevenly over weeks can make door alignment difficult and create internal shifting of stored materials.
Step 5: Adapt Your Layout by Project Phase
A job site is not static, and neither should your storage layout be. The tools and materials you need during framing are different from what you need during finish work. Build a 30-minute “container reset” into your schedule at each major project phase transition. This is the time to move phase-specific tools to the back, bring upcoming materials forward, and audit your inventory.
This phase-reset habit also prevents the slow accumulation of debris, broken equipment, and leftover materials that gradually reduce your container’s usable space. A clean, organized container at each phase handoff is a small operational discipline that pays off significantly by the end of a multi-week or multi-month project.
Backed by 70+ years of logistics experience through the Armellini Logistics heritage, Dash Mobile Storage understands how working job sites operate. That logistics background informs how our units are designed for real-world contractor use — not just storage, but operational efficiency at the site level. Learn more about how on-site storage works for active projects.
Choosing the Right Container for Your Project
Not every job site has the same footprint or the same storage demands. A single-trade renovation in a residential neighborhood has different needs than a multi-contractor commercial build. When evaluating portable storage units, think through these practical factors:
- Size: Match the container size to your actual material volume, not your theoretical maximum. An oversized container encourages disorganization; a right-sized one forces discipline.
- Duration: Short-term rentals for two-to-four-week projects are structured differently than multi-month installations. Confirm rental terms match your project timeline with flexibility for extensions.
- Site access: Consider gate widths, overhead clearance, and surface conditions at your job site before delivery. Ground-level units simplify placement on sites where a forklift or crane isn’t available.
- Security features: Confirm the container has functional locking hardware and that the door seals properly to keep out moisture and pests.
For projects that require heavier-duty or longer-term solutions, Conex shipping container rentals offer additional capacity and structural durability suited to larger commercial job sites across South Florida and the Treasure Coast.
Frequently Asked Questions
How much can I store in a standard job site storage container?
This depends on container size, but the more important factor is how you organize the interior. Zone-based organization with vertical shelving can effectively double usable capacity compared to an unstructured load. Consult with your storage provider about available sizes relative to your specific trade and project scope.
What tools and materials should I keep out of the container entirely?
Flammable liquids, compressed gas cylinders, and hazardous chemicals should not be stored in enclosed job site containers without proper ventilation and regulatory compliance. Check local fire codes and OSHA standards for your specific materials. In South Florida, county fire codes may impose additional restrictions — verify with your local authority having jurisdiction.
How do I prevent tools from being stolen out of a job site container?
Use a high-security shrouded padlock and a reinforced hasp. Maintain an inventory log with check-in/check-out records. Position the container in a visible area of the job site when possible, and consider motion-activated lighting around the unit for overnight deterrence.
Can I add shelving and pegboards to a rented storage container?
In most cases, yes — freestanding shelving requires no modification to the container itself. For wall-mounted pegboards or anchored fixtures, confirm with your rental provider before drilling or attaching anything to the container walls. Dash Mobile Storage can advise on what’s permissible within your rental agreement.
How often should I reorganize a job site storage container?
A full reorganization at each major project phase transition is the minimum. Weekly spot-checks of Zone 1 (high-frequency items) take less than 15 minutes and prevent the slow accumulation of clutter that reduces efficiency over time. Brief daily returns — putting every tool back in its designated spot at end of shift — are the most impactful habit of all.
Ready to set up an organized job site in South Florida?
Tell us about your project and we’ll help you select the right container size, placement, and rental terms to keep your crew working efficiently from day one.
About Dash Mobile Storage
Dash Mobile Storage provides convenient, secure, and affordable portable storage solutions for South Florida and Treasure Coast homeowners, contractors, and businesses. Drawing on 70+ years of logistics experience through the Armellini Logistics heritage, Dash delivers ground-level accessible storage units directly to customers' locations. The company specializes in helping clients navigate Florida-specific storage challenges including moves, renovations, construction site organization, hurricane preparedness, and business inventory management with a locally-rooted, customer-first approach. Visit dashmobilestorage.com →