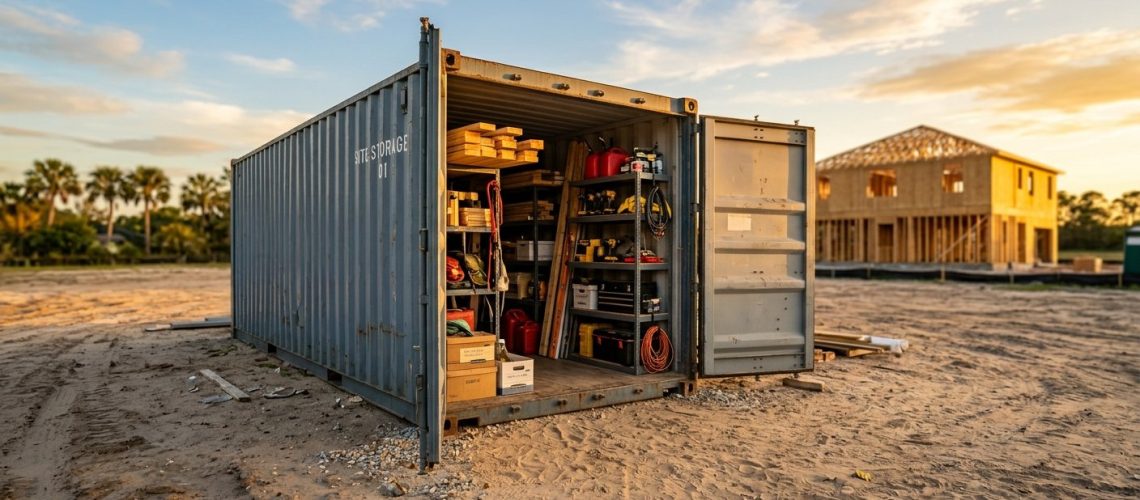
On-site storage containers give contractors a secure, accessible place to keep tools, materials, and equipment directly at the job site — reducing theft risk, cutting delivery delays, and keeping projects organized. For South Florida and Treasure Coast contractors, choosing the right container, placement, and management plan before work begins is what separates smooth projects from chaotic ones.
- Size selection depends on project scope — assess your material volume before ordering.
- Proper placement affects ground stability, access lanes, and local permit compliance.
- Security features like lockboxes and steel construction deter theft on open job sites.
- Ground-level accessible containers eliminate forklifts and reduce loading injuries.
- Coordinating delivery and pickup timing keeps your rental cost efficient and your site organized.
Why Job Site Storage Planning Matters From Day One
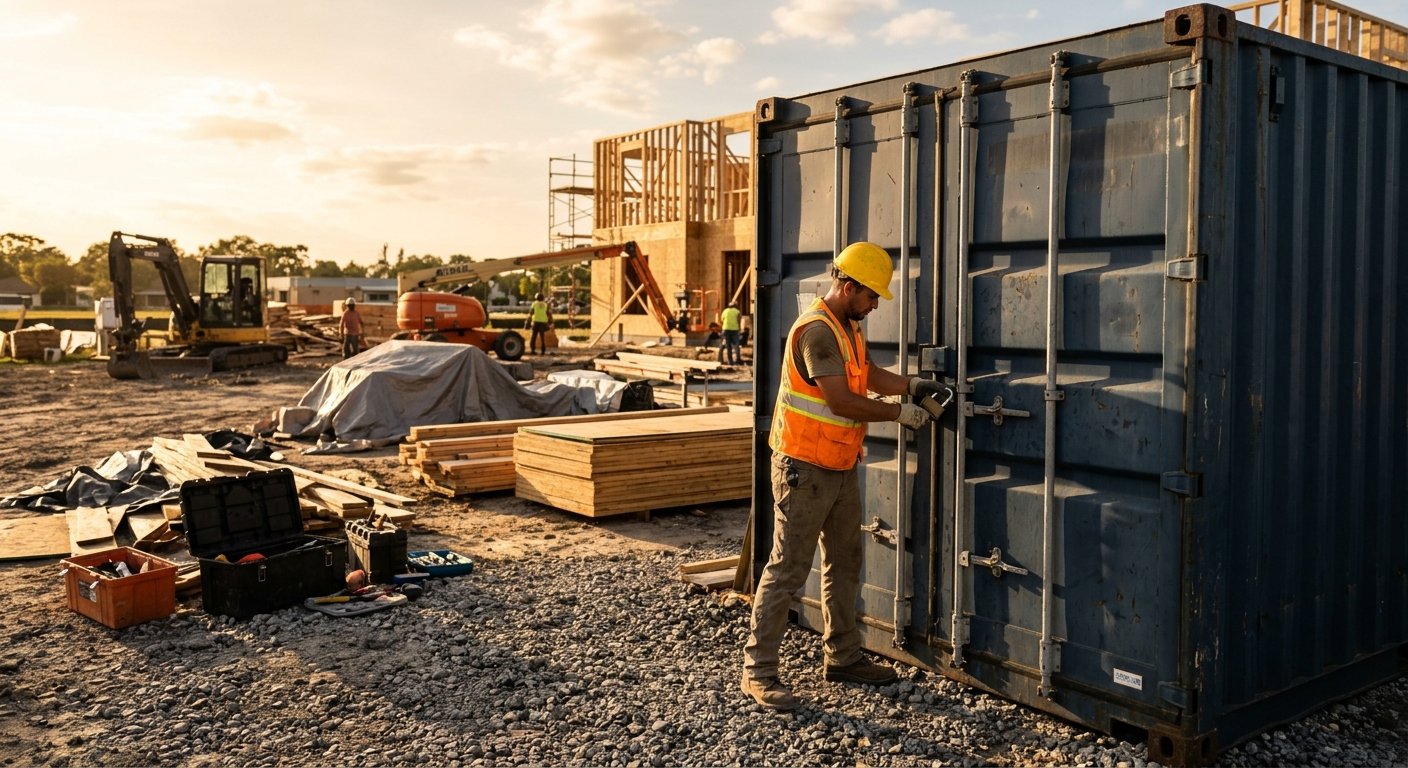
Construction site theft is a persistent and costly problem across the industry. According to the National Insurance Crime Bureau, equipment theft from job sites costs the construction industry an estimated $300 million to $1 billion annually, with most stolen equipment never recovered. That reality makes proactive contractor storage solutions not just convenient — they’re essential risk management.
The checklist below walks through every decision point, from sizing to permitting, so your next project starts with a solid storage plan rather than scrambling to fix problems mid-build.
Step 1 — Assess Your Storage Needs by Project Type
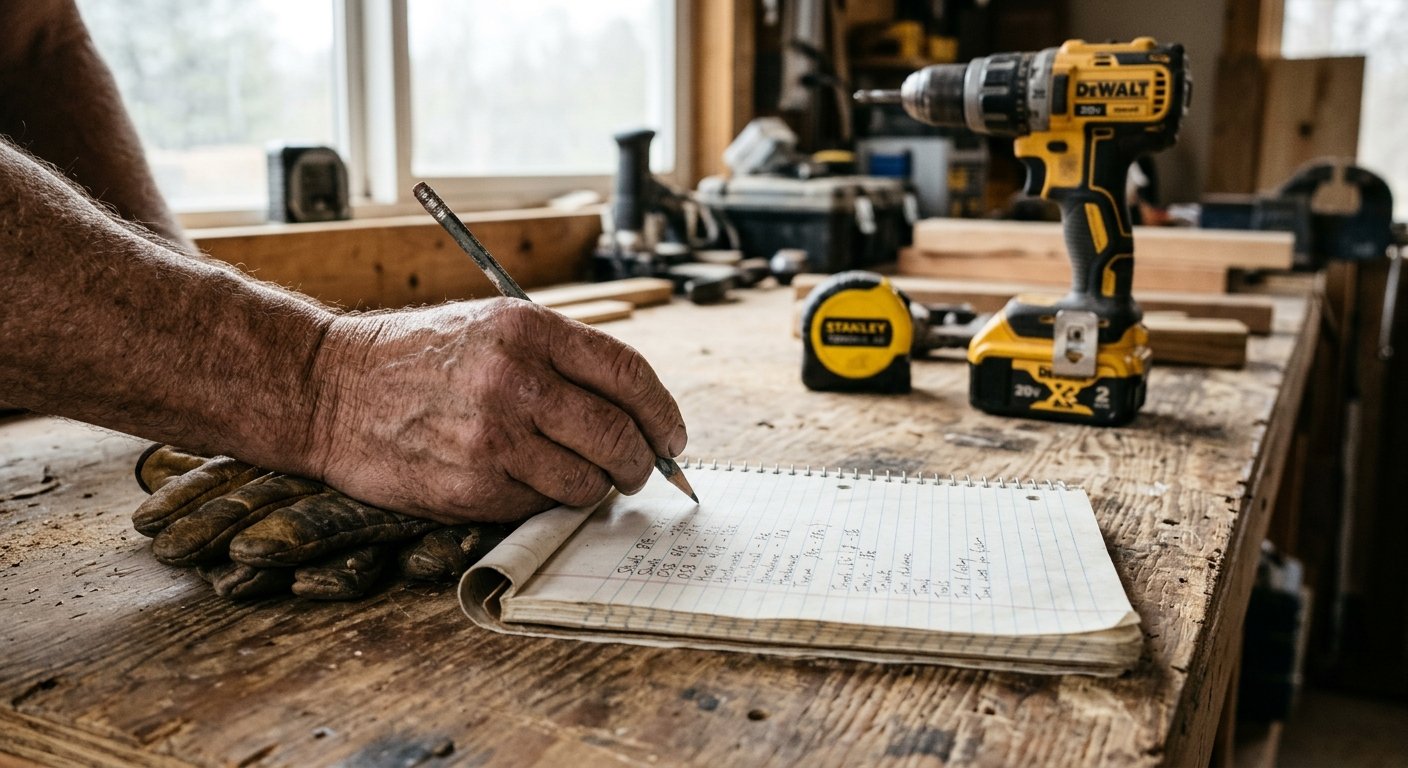
Before requesting a container, document exactly what you need to store. Different project types create different storage demands, and undersizing a container mid-project is far more disruptive than ordering correctly upfront.
Inventory your materials and tools
List every item that will be stored on site — power tools, hand tools, hardware, framing lumber, safety equipment, and consumables. Group by frequency of access so high-use items can be placed near the container doors.
Estimate peak storage volume
Think about the heaviest storage phase, not just day one. A remodeling project often peaks mid-way through when old materials are staged for disposal and new materials are arriving simultaneously.
Choose your container size
Standard portable storage containers typically come in 10-foot, 20-foot, and 40-foot lengths. A small residential renovation may need only a 10-foot unit, while a commercial build-out or multi-trade project usually warrants a 20-foot or larger container.
Plan for the full project duration
Estimate how long the container will be needed — from material staging through final site cleanup. Aligning the rental term to your project schedule avoids unnecessary extension fees or early returns that leave you without storage at a critical moment.
Step 2 — Evaluate the Placement Site
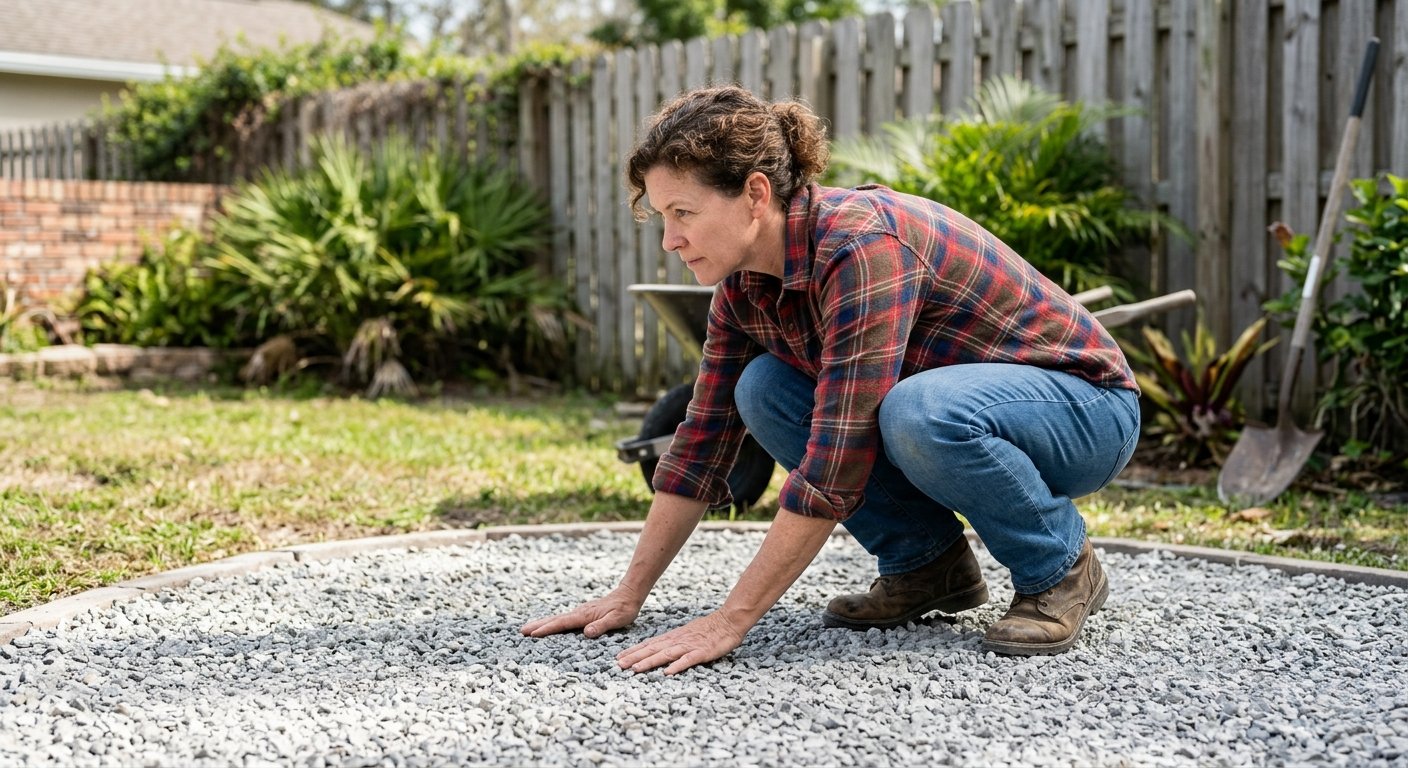
Where you place the container matters almost as much as which container you choose. Poor placement creates safety hazards, access problems, and potential code violations that can pause work.
Ground and Surface Requirements
Containers should be placed on a firm, reasonably level surface. Packed gravel, compacted dirt, or concrete are all workable. Soft or uneven ground can cause a container to shift, making doors difficult to open and potentially creating a tipping hazard. In South Florida, where sandy soil and wet-season ground saturation are common, evaluating ground stability before delivery is especially important.
Request ground-level accessible containers so your crew can load and unload without ramps, forklifts, or step-up effort. Ground-level access reduces strain injuries and speeds up material retrieval — a meaningful efficiency gain on a busy site.
Access Lane Clearance
Confirm that the delivery truck can reach the intended placement area. Most container delivery vehicles require a clear overhead height of at least 14 feet and enough linear space to position the unit without obstructing active work zones, emergency access routes, or neighboring properties.
Distance From Active Work Zones
The container should be close enough to the work area for convenient access but not positioned where it creates a pedestrian hazard or blocks sight lines for equipment operators. Mark the planned location on your site plan before the delivery date so the driver can place it accurately on the first attempt.
Step 3 — Verify Local Permit and Compliance Requirements
Florida municipalities vary in how they regulate temporary storage containers on construction sites. Before placing a container, check with your local building department — whether that’s Martin County, St. Lucie County, or Palm Beach County — to confirm whether a temporary placement permit is required and how long a container can remain without additional approvals.
The Florida Building Commission sets baseline construction standards statewide, but local jurisdictions often add their own requirements around site storage. Permit requirements can also depend on whether the container is on private property, a public right-of-way, or a commercial lot. Getting this confirmed upfront prevents costly stop-work orders.
Getting permit details right before the container arrives costs nothing; fixing a violation mid-project can cost days of downtime.
Step 4 — Lock Down Your Security Plan
Job site theft often targets easily portable items — power tools, copper wire, HVAC components, and hardware. A steel storage container is a strong deterrent, but it works best when combined with a few additional measures.
- Use a quality lockbox or puck lock: A hasp-style lockbox that shrouds the padlock prevents bolt cutters from getting the right angle. Disc or puck locks are also highly resistant to cutting.
- Limit key access: Assign container keys to a project manager or lead foreman rather than distributing them broadly. Log who accesses the container and when.
- Position for visibility: Where site layout allows, place the container in a location visible from the street or from security cameras. Containers tucked in blind corners are more attractive targets.
- Inventory before locking each night: A quick daily checklist of high-value items before closing the container creates accountability and surfaces discrepancies immediately rather than days later.
No storage solution eliminates theft risk entirely. The goal is layered deterrence — a steel container combined with good locks, site lighting, and access discipline makes your job site a harder target than an unprotected alternative.
Step 5 — Coordinate Delivery and Pickup Timing
Efficient on-site storage rental management means aligning your container schedule to your project milestones rather than ordering on a rolling basis and paying for days you don’t need. Build your container timeline into the project schedule during the planning phase, not as an afterthought.
For contractors managing multiple active projects, it’s worth understanding when your storage needs may exceed what a single container provides — a situation covered in more detail in this guide on recognizing when your business has outgrown its current storage approach.
Coordinate delivery so the container arrives before the first material delivery, not after. This lets your crew unload and organize from the start rather than staging materials on the ground and transferring them later. Schedule pickup after final site cleanup is complete but before the project close-out walkthrough.
Step 6 — Plan for Florida-Specific Conditions
South Florida’s climate introduces variables that contractors in other regions don’t face. Humidity, heavy rain, and the possibility of tropical weather during the Atlantic hurricane season (June through November) all affect how you manage job site storage.
- Elevate moisture-sensitive materials: Even inside a steel container, pallets or shelving units keep wood, drywall, and paper goods off the floor to reduce moisture contact during high-humidity periods.
- Check door seals regularly: Inspect the container door seals periodically on long-term projects to ensure they are maintaining a tight closure, especially after heavy rain events.
- Have a hurricane prep plan: If a named storm threatens the Treasure Coast, coordinate with your storage provider on whether the container should be emptied, repositioned, or secured differently. A container that is loaded unevenly or positioned in a flood-prone area faces greater risk during a storm event.
If your project involves food service, pharmaceuticals, or temperature-sensitive supplies, Dash Mobile Storage also offers refrigerated container solutions that maintain controlled temperatures on site — an option worth exploring before your next commercial build-out or restaurant renovation.
Working With a Local Storage Provider Who Understands South Florida
Not every storage provider is equipped to handle the logistics nuances of Treasure Coast construction sites. Dash Mobile Storage serves contractors across Palm City, Stuart, Port St. Lucie, Jupiter, Fort Pierce, and Hobe Sound — and our team brings the logistical depth of 70+ years of experience through the Armellini Logistics heritage to every delivery.
When you work with a local provider, you get delivery drivers who know the roads, communication with a team that understands Florida permitting timelines, and the flexibility to adjust your container placement or rental term as the project evolves. Explore your full range of portable storage unit options to find the right container size and configuration for your job site before your next project kicks off.
Frequently Asked Questions
How do I choose between a 20-foot and 40-foot container for my job site?
Base the decision on peak storage volume, not just your day-one needs. If you’re running a multi-trade commercial project with overlapping material deliveries and tool staging, a 40-foot container typically gives you the organizational flexibility to keep the site efficient. For smaller residential renovations, a 20-foot unit is usually sufficient and takes up less site real estate.
Do I need a permit to place a storage container on a Florida construction site?
It depends on the municipality. Martin County, St. Lucie County, and Palm Beach County each have their own requirements for temporary structures on active construction sites. Always check with the local building department before delivery. Your storage provider should be able to tell you what documentation they typically see requested in the area.
Can job site storage containers handle Florida’s rainy season?
Steel containers are designed to resist rain penetration, but the condition of door seals and the flatness of the placement surface both affect performance over time. Elevating moisture-sensitive materials on pallets inside the container and inspecting seals periodically during long projects are practical precautions for Florida’s wet season.
What’s the best way to organize a job site container for daily efficiency?
Place the highest-access items — daily-use tools, safety equipment, fasteners — near the doors. Stage materials that won’t be needed until later phases toward the back. Use labeled shelving or bins for small hardware so crew members can retrieve items without digging through the container and disrupting the organization system.
How far in advance should I book a container for a construction project?
Booking at least one to two weeks ahead of your project start date is a reasonable target for most projects in the Treasure Coast area. During busy construction seasons or in advance of hurricane season when demand spikes, booking earlier gives you more flexibility on sizing and delivery timing.
Get Your Job Site Storage Sorted
Tell us your project location, timeline, and material volume — our local Treasure Coast team will help you identify the right container size and placement plan for a smooth, organized build.
About Dash Mobile Storage
Dash Mobile Storage provides convenient, secure, and affordable portable storage solutions for South Florida and Treasure Coast homeowners, contractors, and businesses. As part of Armellini Logistics, Dash delivers ground-level accessible storage units directly to customers' locations. The company specializes in helping clients navigate Florida-specific storage challenges including moves, renovations, construction site organization, hurricane preparedness, and business inventory management with a locally-rooted, customer-first approach. Visit dashmobilestorage.com →